Have I told you yet how much I love baking bread? That my idea of a perfect morning is mixing up yeast, flour and water, taking a nice long walk, then coming back to find what was once a little ball of dough doubled in size? There is something magical about baking homemade bread. And so, last week, when these Chicken Gyros were on the menu, it was the perfect opportunity to try my hand at homemade pita bread. Here’s how it’s done.
Start by mixing up your dough. First the dry ingredients (flour + salt) then the wet ones (water + oil + sugar + yeast). I mix my water, yeast and sugar together and let it rest for about 5 minutes until the yeast begins to bubble because I use Active Dry instead of Instant Yeast. If you’re using instant, just mix everything together at once. The dough should form a rough ball. If it’s crumbly, add a little water. If it’s super sticky, add a little flour.
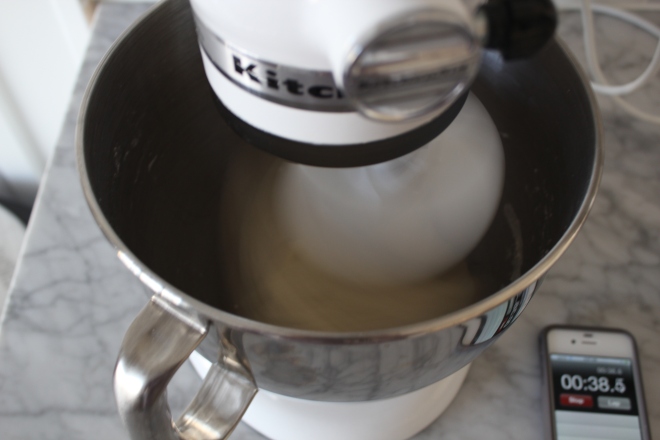
Next, you will knead the dough for 10 minutes. I let my KitchenAid do the work but you can certainly do this by hand. Just make sure your surface & hands are well-floured. This dough is sticky!
Place your dough in a well-oiled bowl and cover with plastic wrap or a damp kitchen towel. Allow to rise until doubled in size.
I left mine for 90 minutes and it looked like this when I came back.
With well-floured hands, deflate the dough, place it on a floured surface and divide into 8 equal pieces.
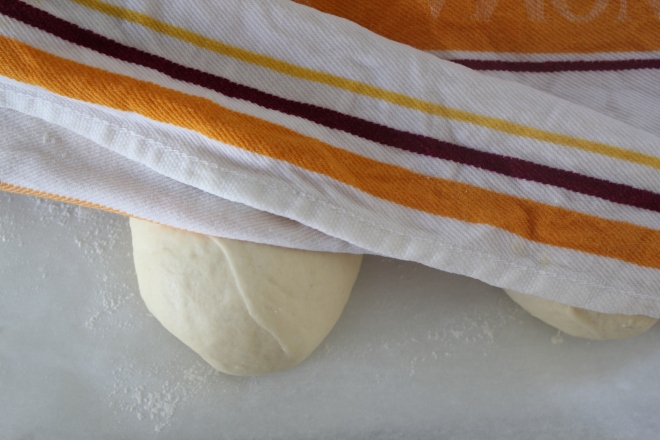
Roll each piece into a small ball and cover with a damp kitchen towel and let rest for 20 minutes. While the dough is resting, preheat your oven to 450 degrees. If you have a baking stone, place it in the oven to preheat. If not, place a baking sheet upside down in the oven to preheat. This will be the surface on which you bake the pita.
Once the pieces have rested for 20 minutes, roll each out to 1/8 – 1/4 inch thick (they should be about 5-6 inches in diameter). Leave them on parchment paper or a floured work surface to rise again for 30-45 minutes. They will appear puffed up once they are finished.
Carefully place as many pitas as you can on the hot baking surface. They will be done cooking and puffed in about 3 minutes. If you’d like they crispier, leave them in for up to 3 more minutes.
Cool the pita bread on a baking rack. Store in an air-tight container. Enjoy with hummus, use for sandwiches or make delicious gyros.
Pita Bread
Printer-Friendly Version
Yield: 8 Pitas
Time: 3.5 hours, including rising time
As stated above, you can use either Active Dry Yeast or Instant Yeast. I use Active Dry so I mix it with the water, oil & sugar and let it sit for about 5 minutes until it starts bubbling. Then, I mix it into the dry ingredients. If you’re using Instant, you can skip this step and mix everything together right away. For more than you would ever want to know about yeast and Active Dry vs. Instant, you can visit this post.
3 cups flour, plus 1/2-3/4 cup more as needed
1 ½ tsp. salt
1 tbsp. sugar (or honey) – I used sugar
1 packet instant yeast
1 ¼ to 1 ½ cups water, roughly at room temperature
2 tbsp. olive oil, vegetable oil, butter or shortening
1. Mix the dough. First the dry ingredients (flour + salt) then the wet ones (water + oil + sugar + yeast). I mix my water, yeast and sugar together and let it rest for about 5 minutes until the yeast begins to bubble because I use Active Dry instead of Instant Yeast. If you’re using instant, just mix everything together at once. The dough should form a rough ball. If it’s crumbly, add a little water. If it’s super sticky, add a little flour.
2. Once all of the ingredients form a ball, place the ball on a work surface, and knead the dough for approximately 10 minutes. Alternatively, use a stand mixer fitted with the dough hook and mix at low speed for 10 minutes. As the dough is mixing, continue to add flour, a tablespoon or two at a time, until the dough clears the sides of the bowl and is tacky but not sticky.
3. When done kneading the dough, place it in a bowl that has been lightly coated with oil. Form a ball out of the dough and place it into the bowl, rolling the dough around so that it has a light coat of oil on all sides. Cover the bowl with plastic wrap or a damp towel and set aside to rise until it has doubled in size, approximately 90 minutes.
4. When it has doubled in size, punch the dough down and divide it into 8 equal pieces. Use well-floured hands here to prevent sticking. Roll each piece into a ball, cover the balls with a damp kitchen towel, and let them rest for 20 minutes.
5. While the dough is resting, preheat the oven to 450°. If you have a baking stone, put it in the oven to preheat as well. If you do not have a baking stone, turn a cookie sheet upside down and place it on the middle rack of the oven while it is preheating. This will be the surface on which you bake your pitas.
6. After the dough has relaxed for 20 minutes, spread a light coating of flour on a work surface and place one of the balls of dough there. Sprinkle a little bit of flour on top of the dough and use a rolling pin or your hands to stretch and flatten the dough. You should be able to roll it out to between ¼ – 1/8” thick – 6 inches in diameter. If the dough does not stretch sufficiently, you can cover it with the damp towel and let it rest 5-10 minutes before trying again.
7. Place discs on a lightly greased baking sheet or parchment paper and let rise, uncovered, until barely doubled in thickness, about 30-45 minutes.
8. Open the oven and place as many pitas as you can fit on the hot baking surface. They should be baked through and puffy after 3 minutes. If you’d like them crispier, add a few additional minutes.
Source: Annie’s Eats


